I have made Chocochip Cookies earlier and blogged about it. That was my first attempt and I think I did reasonably okay. I had just started baking back then. Over the years, of constant baking, reading recipes, blogs, I realized there was a lot more to the perfect Chocochip Cookie that what was coming out of my oven.
The hunt then began to dig deeper into how the cookie should be. I went to various shops which boast about the perfect Chocochip Cookie, and must have had umpteen cups of coffee to go with it :-D. I came back home and tried out my standard recipe, which I think tastes really good. Of course I further made a few changes to the original recipe to suit my taste buds.

You will find the original recipe here, but I have changed a few things from that recipe. Here is the new recipe I follow:
Ingredients:
1 cup flour, plus a little extra,
2 tbsps cocoa powder,
1/2 cup butter, softened,
1/2 cup granulated sugar,
1/2 cup Demerara sugar,
1 egg,
1/2 tsp vanilla essence,
A pinch of salt,
1/2 tsp baking soda,
1/2 cup semi-sweet chocolate chips,
Method:
.jpeg)
I used to find it amusing when the same recipe made on different days would give a different result. I didn't know why it happened. That's when i started making some mental notes. So after a lot of batches of cookie preparation, I have come up with a list of do and don't which have now started working very well for me.
.jpeg)
So, those were some of my observations, and I kept working on them to achieve some perfection. Do you have any tips? Do share them with me :-)
The hunt then began to dig deeper into how the cookie should be. I went to various shops which boast about the perfect Chocochip Cookie, and must have had umpteen cups of coffee to go with it :-D. I came back home and tried out my standard recipe, which I think tastes really good. Of course I further made a few changes to the original recipe to suit my taste buds.
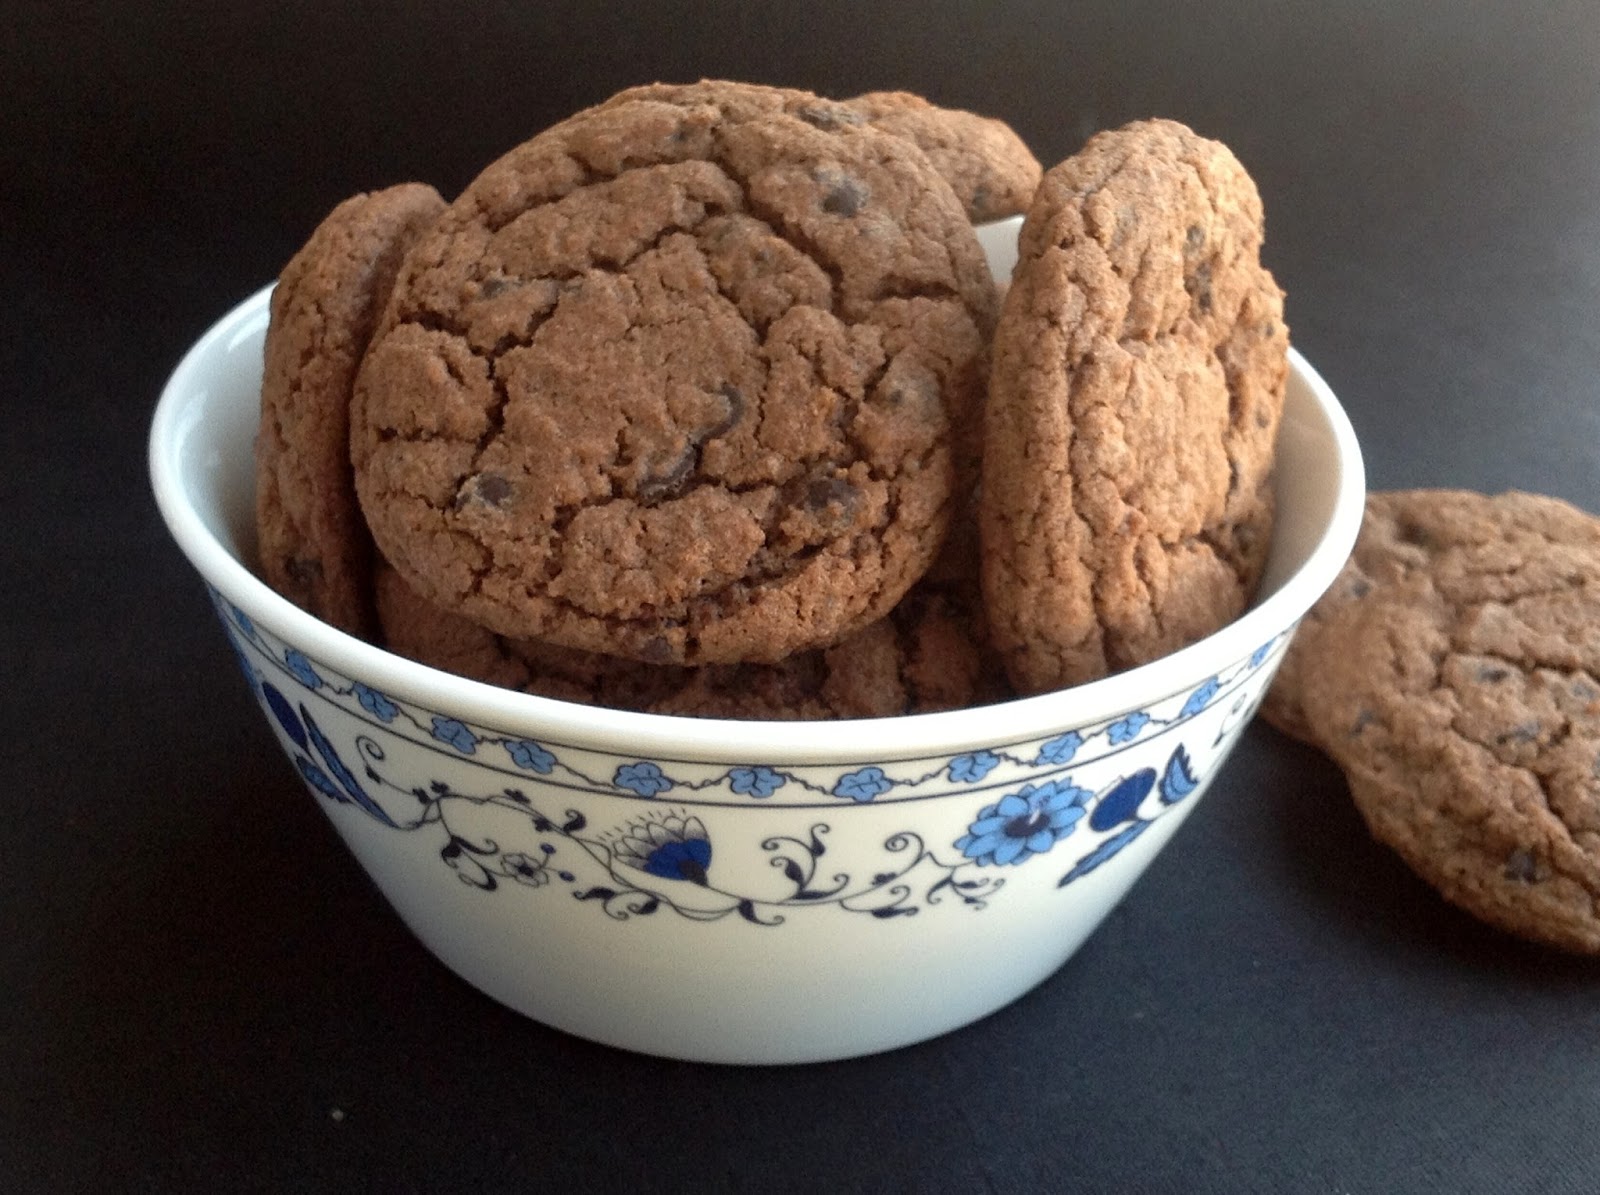
You will find the original recipe here, but I have changed a few things from that recipe. Here is the new recipe I follow:
Ingredients:
1 cup flour, plus a little extra,
2 tbsps cocoa powder,
1/2 cup butter, softened,
1/2 cup granulated sugar,
1/2 cup Demerara sugar,
1 egg,
1/2 tsp vanilla essence,
A pinch of salt,
1/2 tsp baking soda,
1/2 cup semi-sweet chocolate chips,
Method:
- Pre heat the oven to 180 degrees for 10 mins.
- Sift the flour, cocoa powder, baking soda and salt thrice and set aside.
- In a bowl, mix granulated sugar, Demerara sugar, butter, vanilla essence, and beat well. Add the egg and mix well.
- Add the flour mixture slowly and until just incorporated. Mix in the chocolate chips.
- Drop spoonful of the mixture on an ungreased baking sheet and bake for approximately 9-10 mins.
- Allow them to cool before removing from the baking sheets.
.jpeg)
I used to find it amusing when the same recipe made on different days would give a different result. I didn't know why it happened. That's when i started making some mental notes. So after a lot of batches of cookie preparation, I have come up with a list of do and don't which have now started working very well for me.
7 Tips On How To Get Perfect Chocochip Cookies
- Temperature of Butter: Always use butter which is at room temperature. And then the butter should be both melted and structured at the same time. Shocked?? Hahaha, let me explain what I mean. You will be able to achieve this if you put the container in which you have measured out the butter in the oven while it is preheating. What would happen is it would slowly melt at the bottom and the top would still remain structured. Do this for about 1 min. Do not do it in the microwave as this would melt it down completely. We don't want that. After this leave it aside while you get on with your preparations The melted butter would slowly start to set, while the rest of it would be structured. Don't ask me why, but this way, I get the most moist cookies.
- Don't over beat the eggs: Just lightly beat the eggs. Too much beating will make it very crispy and you want a soft cookie.
- Don't over beat the flour: My suggestion is to not use an electric beater for this. Use a spatula to incorporate the mix together. Do it loosely, don't press the batter down too hard. Now sometimes, if the temperature outside is hot and humid, you will have an impact on the dough. You will start seeing a very soft dough, sticky types. Your dough should come of the sides when you run the spatula. If this is not happening, maybe you might have to add 1 or 2 tsp of flour just to get the consistency right.
- Bake in smaller batches: The baking soda in the dough starts to act immediately when it comes in contact with anything liquid. So if you are making a big batch and waiting for the first set to come out of the oven, then by the time you put in your second batch, the dough would have changed in composition. My oven tray hold 12-15 medium sized cookies and the recipe above gives you just that much.
- Refrigerate the dough: Again, if the outside temperature is hot and humid, its a good idea to keep the dough refrigerated while you are getting some stuff done. Do not let the dough sit idle at all. But just in case you need to take a moment, keep it refrigerator while you finish the work.
- Spoon the batter: Use a tablespoon to spoon the batter onto the sheet. I find that if I roll the dough between my hands to make a ball, then with the heat of the palm, the baking alters. So use a spoon and try to keep the shape as normal as possible. With the heat in the oven, the dough will take shape.
- Space between cookies: If you are like me, fanatic about the look of the cookie, then place your cookies a little farther away from each other. The cookie dough will spread as the heat increases. You don't want 2 cookies sticking to each other.
- Don't over beat the flour: My suggestion is to not use an electric beater for this. Use a spatula to incorporate the mix together. Do it loosely, don't press the batter down too hard. Now sometimes, if the temperature outside is hot and humid, you will have an impact on the dough. You will start seeing a very soft dough, sticky types. Your dough should come of the sides when you run the spatula. If this is not happening, maybe you might have to add 1 or 2 tsp of flour just to get the consistency right.
- Bake in smaller batches: The baking soda in the dough starts to act immediately when it comes in contact with anything liquid. So if you are making a big batch and waiting for the first set to come out of the oven, then by the time you put in your second batch, the dough would have changed in composition. My oven tray hold 12-15 medium sized cookies and the recipe above gives you just that much.
- Refrigerate the dough: Again, if the outside temperature is hot and humid, its a good idea to keep the dough refrigerated while you are getting some stuff done. Do not let the dough sit idle at all. But just in case you need to take a moment, keep it refrigerator while you finish the work.
- Spoon the batter: Use a tablespoon to spoon the batter onto the sheet. I find that if I roll the dough between my hands to make a ball, then with the heat of the palm, the baking alters. So use a spoon and try to keep the shape as normal as possible. With the heat in the oven, the dough will take shape.
- Space between cookies: If you are like me, fanatic about the look of the cookie, then place your cookies a little farther away from each other. The cookie dough will spread as the heat increases. You don't want 2 cookies sticking to each other.
.jpeg)
So, those were some of my observations, and I kept working on them to achieve some perfection. Do you have any tips? Do share them with me :-)
Comments
Post a Comment
Thanks for visiting my blog. I appreciate your feedback and/or suggestions!!